Season 4 Guide
Best Last War Survival Season 4 Week 1 Guide: Lighthouse, Blood Night & Tactics Cards
A complete Last War Survival Season 4 Week 1 guide covering Lighthouse power, Virus Resistance, World Donations, Magatama, Blood Night Descends, Quartz Workshops, battle passes, and Tactics Cards.
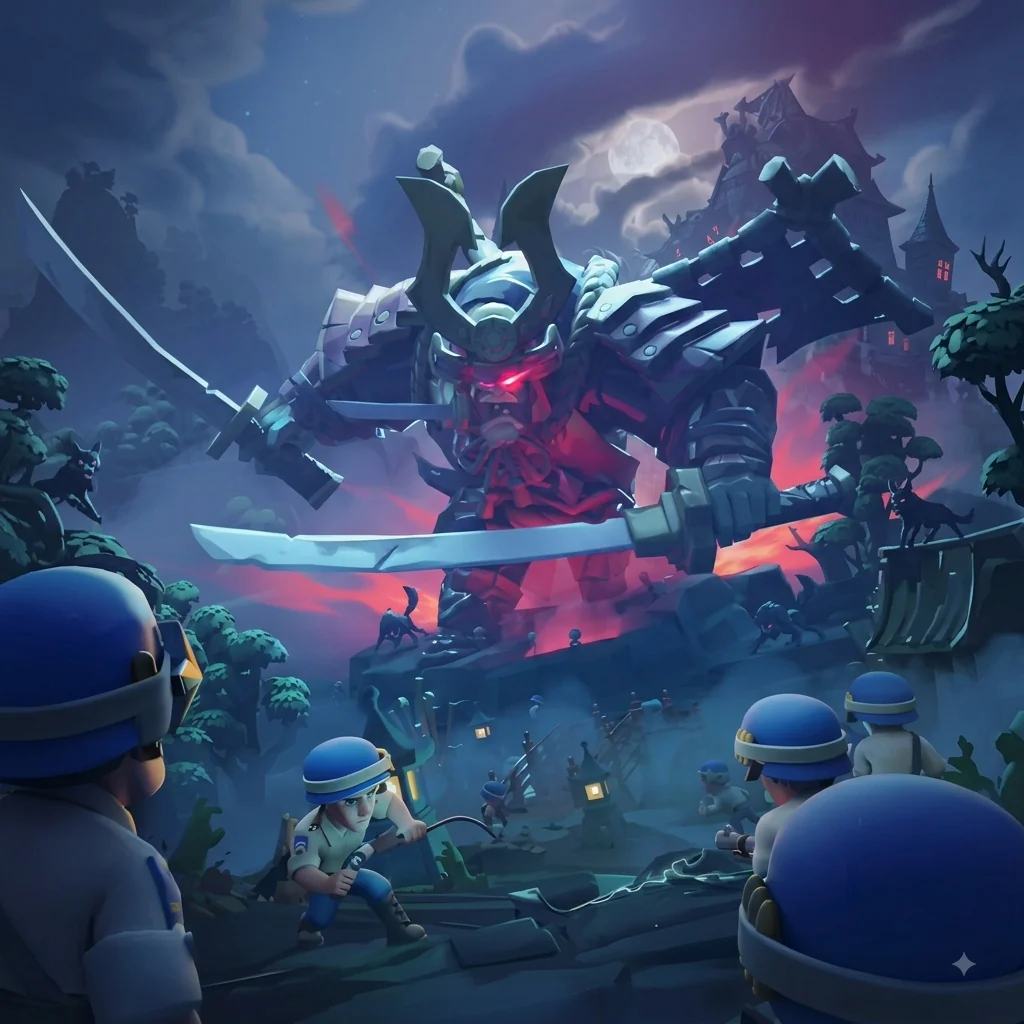
Last War Survival Season 4 Week 1 introduces Evernight Isle and a new early-season rhythm built around darkness, Lighthouse power, and Virus Resistance. The core goals remain familiar, but the new systems reward alliances that coordinate donations, power timing, and seasonal resource use from the first day.
Use this guide to prioritize the Week 1 actions that compound: light the Lighthouse for seasonal goals, unlock the Optoelectronic Lab and Quartz Workshop, farm Blood Night resets, spend Magatama on a useful first Tactics Card, and avoid wasting Quartz or pass selectors.
Key takeaways
- Keep the Lighthouse illuminated for seasonal-goal progress, but save Level 4 brightness for a planned Doom Elite or Digging Stronghold rally because it consumes power quickly.
- Donate to unlock the Optoelectronic Lab and Quartz Workshop first. The Lab drives Virus Resistance, while the Workshop supplies Quartz for seasonal upgrades.
- Level Quartz Workshops evenly. Every workshop level gives the same production increase, so balanced upgrades produce more Quartz for less cost.
- Farm Blood Night Descends from the Level 1 reset for Stones, Quartz, Hero's Return Recruitment Tickets, Magatama, and Tactics Cards.
Part 1: Season 4 Week 1 Goals and Lighthouse Hours
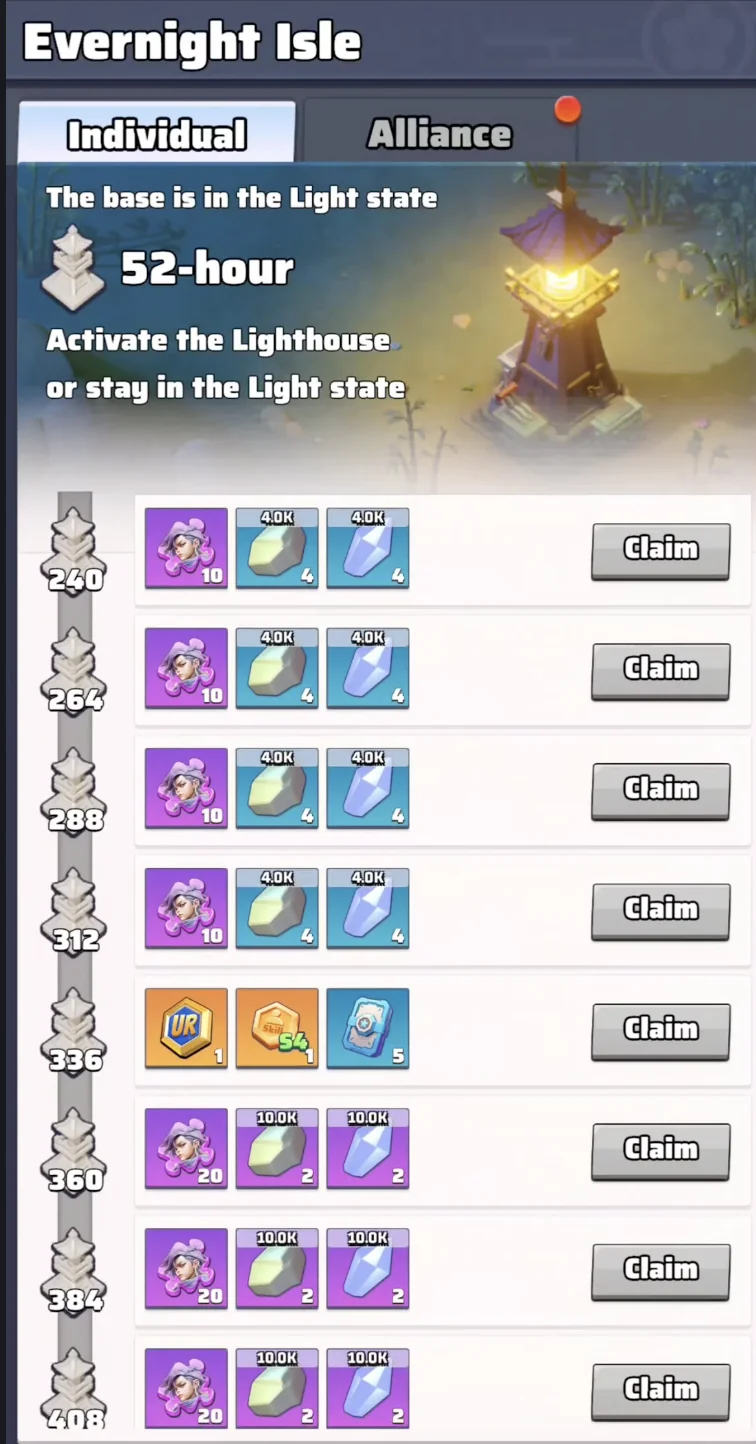
Season 4 keeps the familiar early-season loop: build Virus Resistance, capture Digging Strongholds, defeat Doom Elites, and improve seasonal buildings. The major goal-tab change is that progress no longer depends on continuously running a furnace or lab. Instead, you must keep the Lighthouse illuminated for a required number of hours.
Treat Lighthouse time as a planned account objective rather than background decoration. Accumulated illumination unlocks rewards such as Legendary Tactics Card Packs and Overlord Supply Chests, so check the goal tab before spending power on unrelated map activity.
- Build Virus Resistance before forcing difficult Doom Elite fights.
- Coordinate Digging Stronghold captures with alliance activity windows.
- Track Lighthouse illumination hours so seasonal-goal rewards are not left unclaimed.
Part 2: Prioritize Alliance Research and World Donations
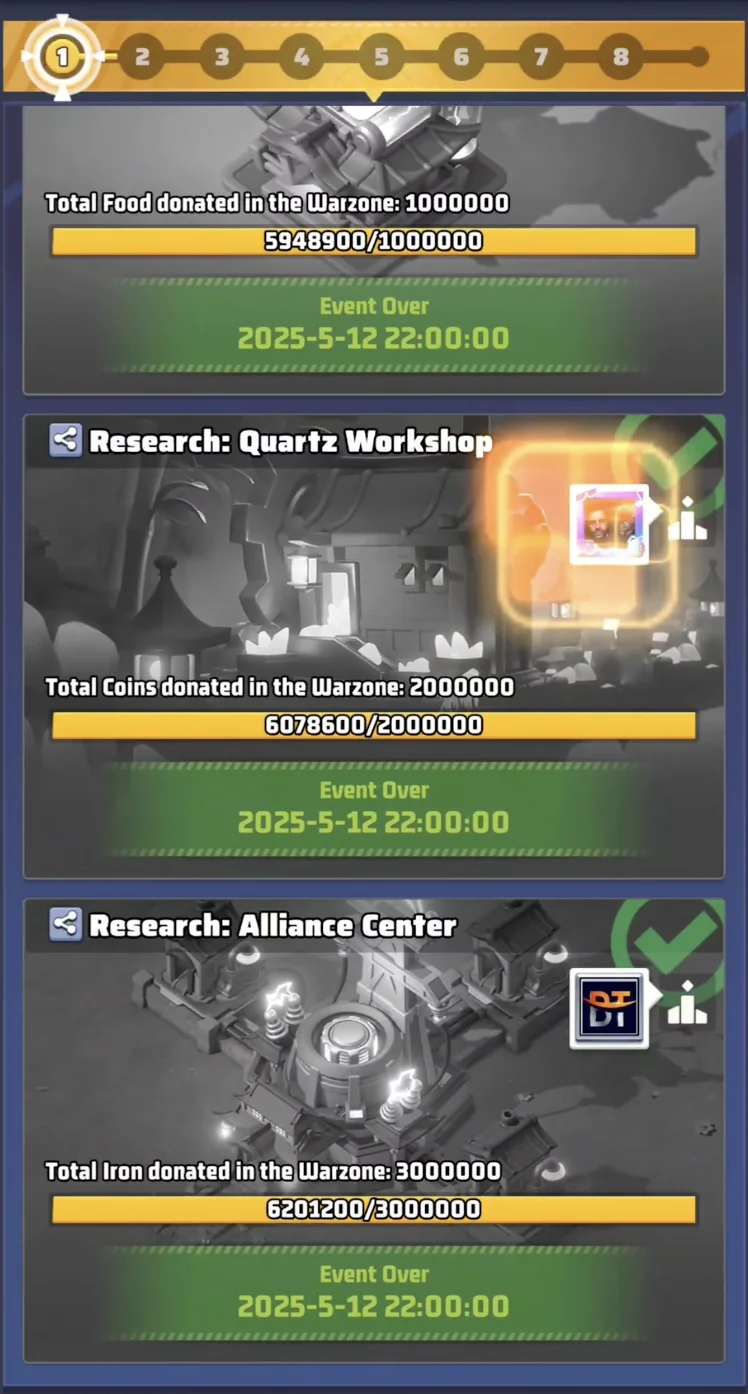
At the start of Week 1, global donations unlock the infrastructure that determines how quickly your server can progress. The Optoelectronic Lab is the primary source of Virus Resistance, and the Quartz Workshop produces the Quartz required for later seasonal upgrades.
Season 4 reduces the Alliance Center requirement from five buildings in Season 3 to four buildings. Future weeks unlock the Stone Warehouse in Week 2, Oil Warehouse in Week 3, and Magatama Warehouse in Week 4, so early donations should focus on the infrastructure that improves immediate resistance and Quartz flow.
- Prioritize donations that open the Optoelectronic Lab and Quartz Workshop.
- Use the Alliance Center reduction to reach core infrastructure sooner.
- Plan for warehouse unlocks, but do not delay Week 1 resistance progress for future-week resources.
Part 3: Spend Magatama on a First Legendary Tactics Card
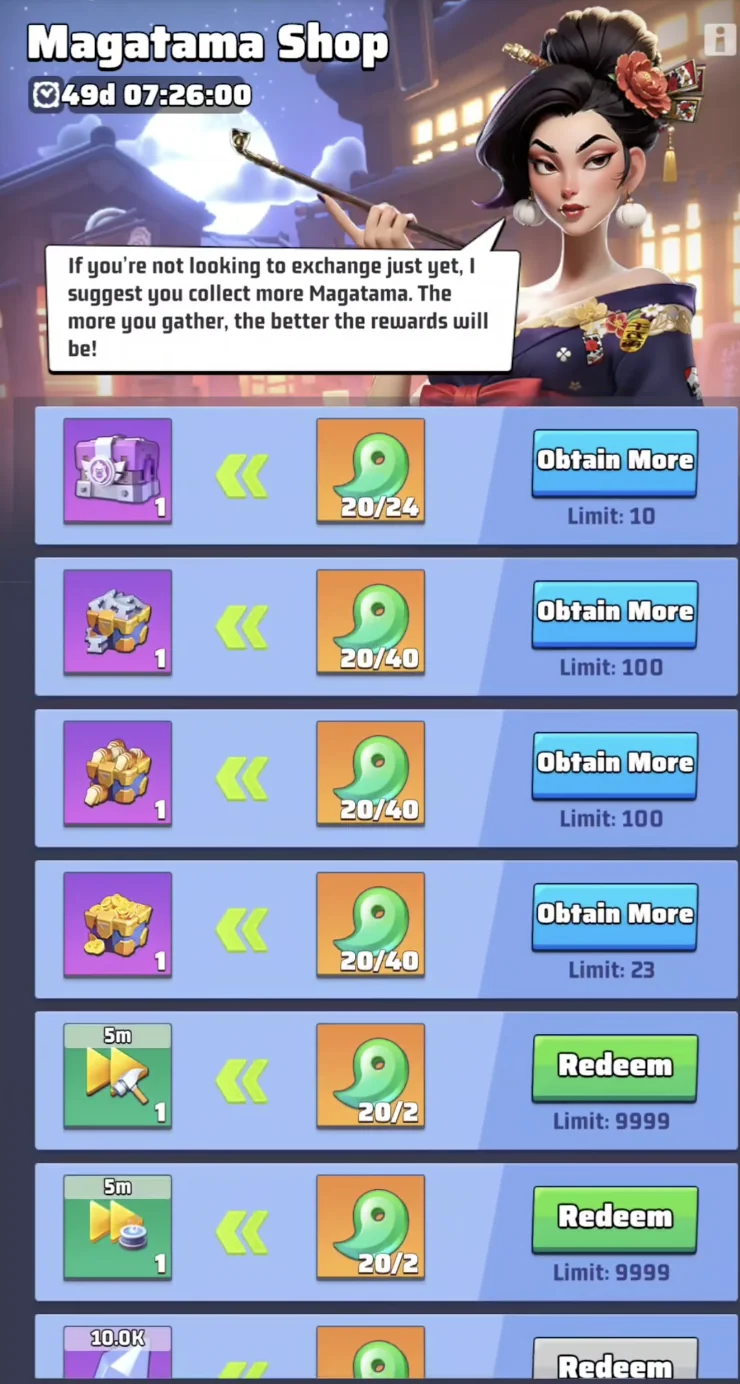
Magatama is Season 4's new currency, with Blood Night Descends as a key early source. The Magatama Shop includes standard resources and Speed-ups, but the most account-changing early purchase is the Legendary Tactics Card Pack.
For both free-to-play and spending accounts, getting a Core Card early can strengthen either combat or gathering efficiency before the card system fully opens. Buy flexible resources only when they solve an immediate bottleneck; otherwise, protect Magatama for the Legendary pack.
- Collect Magatama during Blood Night Descends activity.
- Make the Legendary Tactics Card Pack the first major shop priority.
- Avoid exhausting Magatama on generic resources when the card pack is still out of reach.
Part 4: Find Maneki-neko Light On Rewards
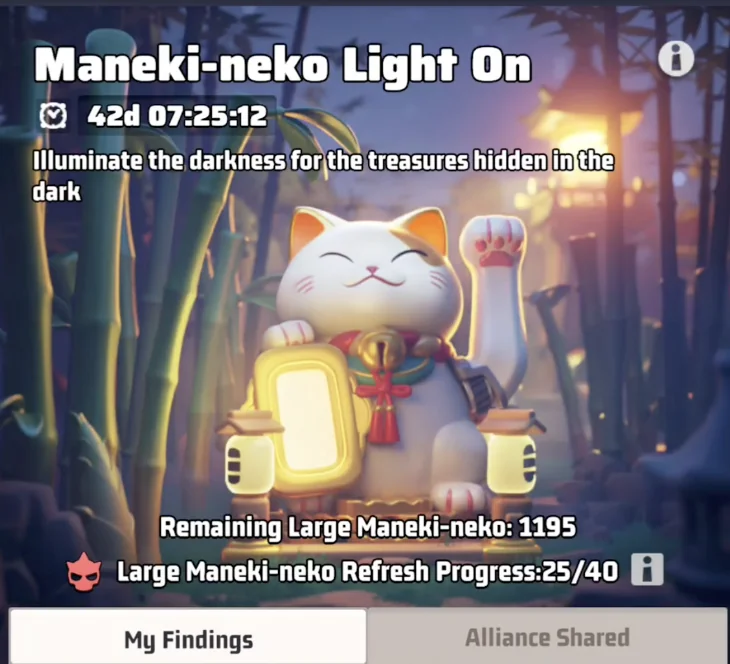
Maneki-neko Light On replaces the treasure hunts from earlier seasons. Fortune cats are hidden in dark areas, so illuminating your base and its surroundings is the first way to reveal them.
Add an Electrician to troop marches when attacking monsters. The march lights its route and can reveal mini-cats for immediate collection. Large Maneki-neko work like earlier large treasures: up to 15 alliance members can claim rewards from one spawn, so share the location as soon as you find it.
- Light the base area first, then search nearby dark map space.
- Use Electricians on monster marches to reveal mini-cats along the route.
- Share large Maneki-neko locations with the alliance before their reward window ends.
Part 5: Choose Battle Pass Value Carefully
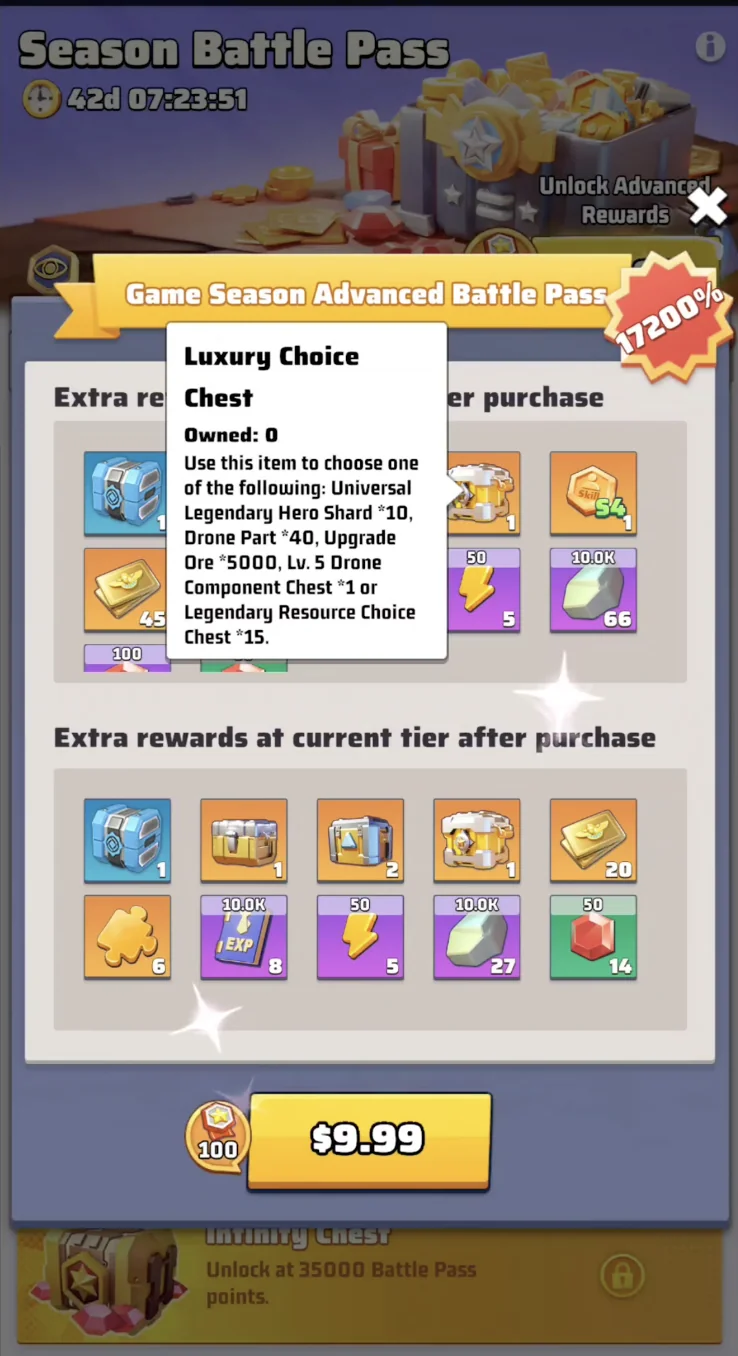
The $20 Luxury Battle Pass includes standard resources, Profession XP, and Hero Shards, but it does not include Weapon Shards this season. The lower-cost Advanced Battle Pass is the stronger low-spender value because its Luxury Choice Chest lets you choose a focused progression reward.
When opening that selector, choose the Level 5 Drone Component Chest. It produces more durable account progress than the competing options. The free pass also ends with a 30-day Chroma Base Skin, Auroraclaw Fighter, but it cannot be used unless you already own the corresponding premium base skin, so free-to-play players should not plan around it.
- Treat the Advanced Battle Pass as the stronger low-spender option when you want a paid pass.
- Choose the Level 5 Drone Component Chest from the Luxury Choice Chest.
- Do not value the free Chroma Base Skin as a usable reward unless you own its required premium skin.
Part 6: Upgrade Protector's Field Instead of the Old Altar
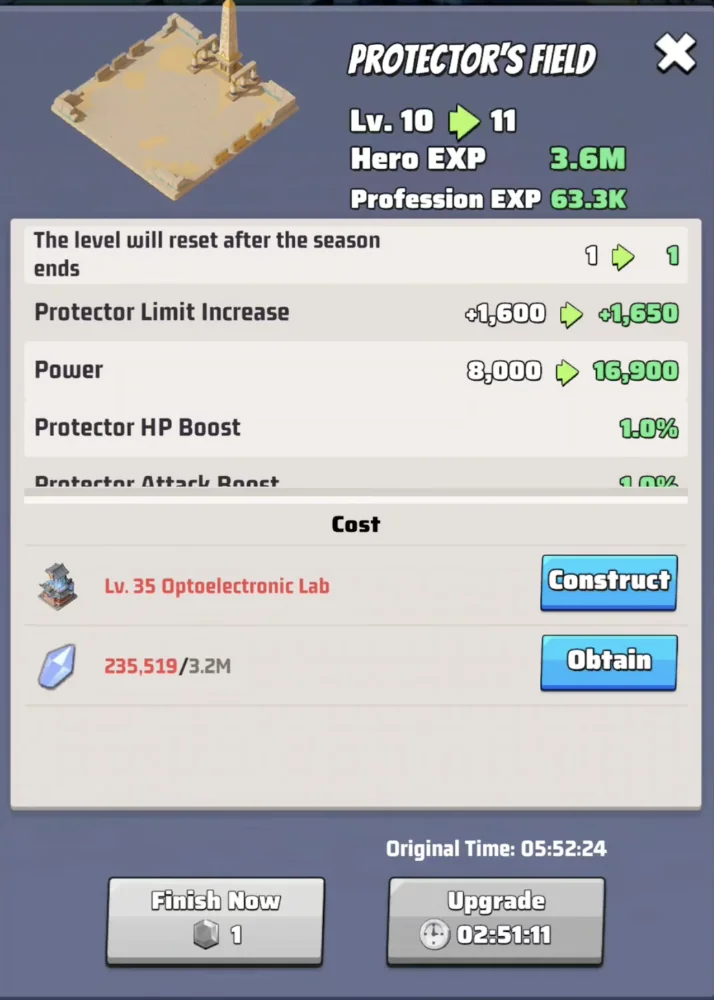
Protector's Field replaces the earlier Altar role. Weekly Pass players receive Protector Horns for it, and upgrades now combine two benefits: more troop capacity and Troop Type Boosts for Attack, Defense, and HP.
Levels 1 through 9 require standard Food and Iron. Seasonal Quartz is required beginning at Level 10, so do not stockpile Quartz solely for this building during Week 1 if your Optoelectronic Lab still needs upgrades. Resistance progression has the more immediate payoff.
- Use Protector Horns on Protector's Field when they are available.
- Take the early Food and Iron upgrades without delaying Lab progress.
- Reserve Quartz planning for Level 10 and above, after the Lab is in a healthy state.
Part 7: Level Quartz Workshops Evenly
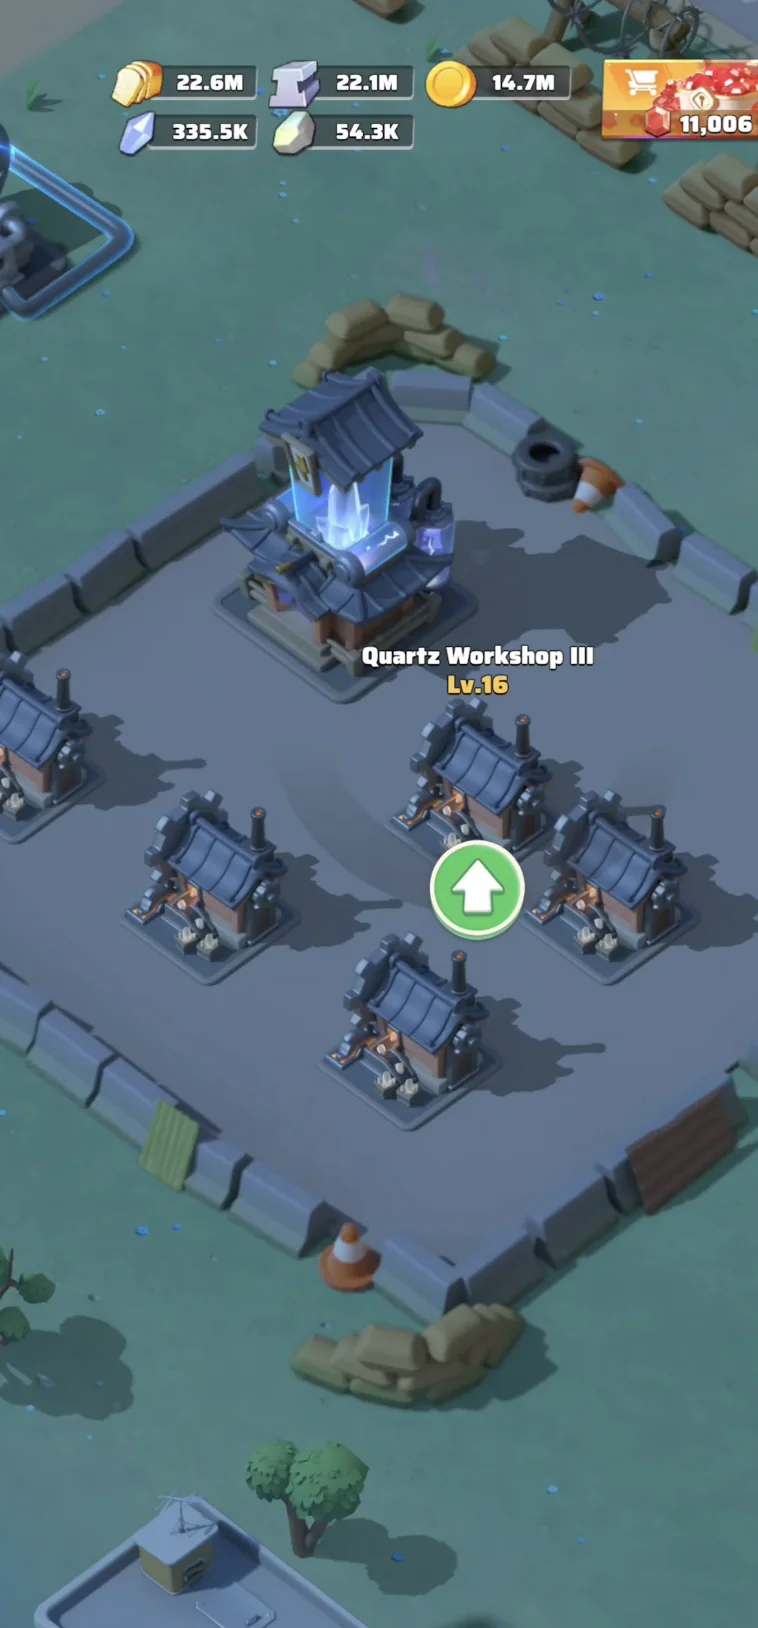
Weekly Pass players can build up to five Quartz Workshops. The important mechanic is that every workshop level provides the same resource-production increase. A single Level 30 workshop therefore does not create a special production break point.
Level all workshops evenly instead of rushing one workshop far ahead. Balanced upgrades minimize the cost needed for each extra unit of hourly Quartz and leave you with more seasonal currency for Labs and later Protector's Field levels.
- Build all available Quartz Workshops before concentrating on high levels.
- Keep workshop levels close together for the best production-per-cost return.
- Use the resulting Quartz first where Virus Resistance progression needs it most.
Part 8: Use Lighthouse Brightness for Timed Combat Windows
The Lighthouse dispels darkness and raises Virus Resistance. As the Optoelectronic Lab reaches Levels 5, 10, and 15, it unlocks Zombie-powered Generators. Attack standard map zombies, collect the cage icon that appears, and use those captured zombies to fuel the generators.
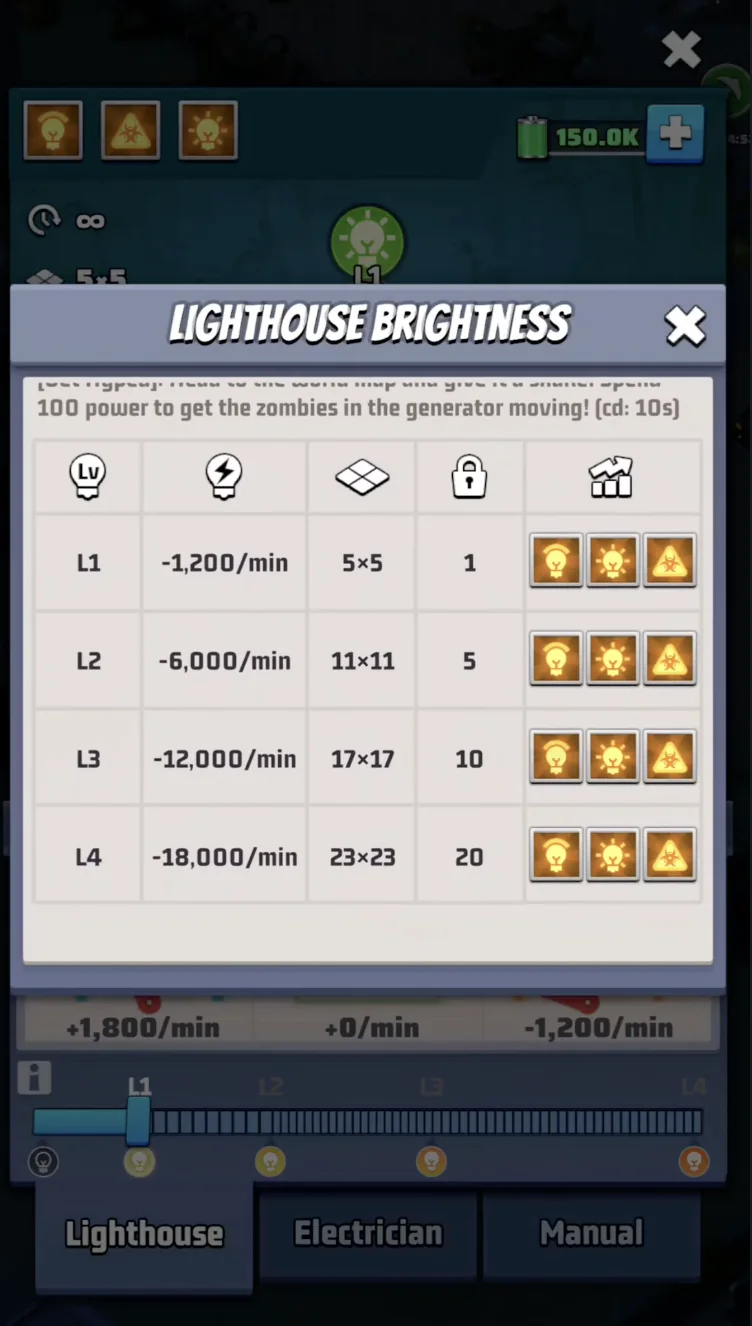
Brightness levels L1 through L4 trade power consumption for a larger illuminated area and more Virus Resistance. Level 4 can grant +250 Virus Resistance, but its energy cost makes it unsuitable as an all-day setting. Turn it on immediately before a coordinated rally against a hard Doom Elite or Digging Stronghold, then lower it once the fight is won.
- Capture zombies from the map to fuel newly unlocked generators.
- Use lower brightness for ordinary activity and illumination-hour progress.
- Save Level 4 for a declared rally, then power down to conserve energy.
| Situation | Lighthouse plan | Why |
|---|---|---|
| Routine map activity | Use a lower power level | It preserves generator fuel while maintaining normal illumination |
| Doom Elite or Digging Stronghold rally | Raise brightness shortly before combat | The Virus Resistance boost helps the whole planned battle window |
| Rally completed | Lower brightness immediately | Level 4 drains power too quickly for idle use |
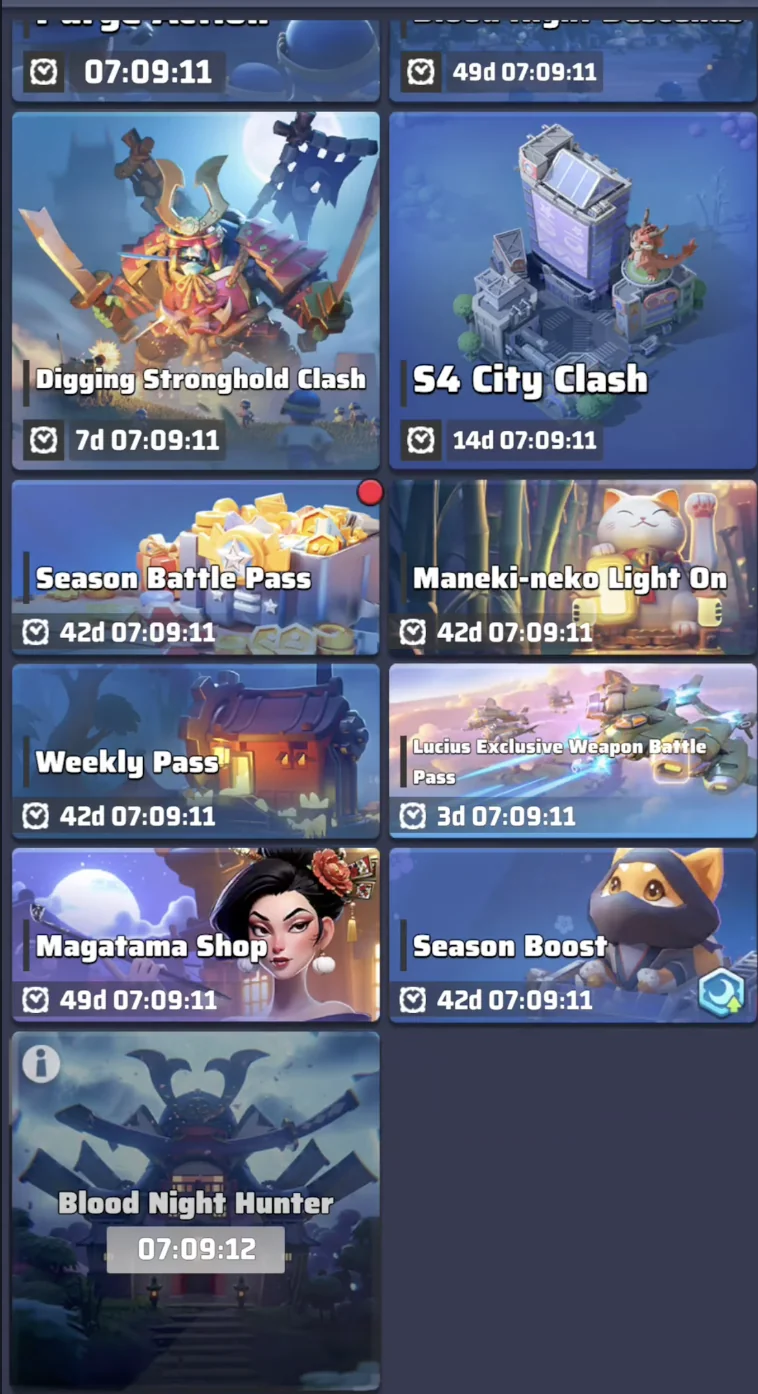
Part 9: Farm Blood Night Descends From the Level 1 Reset
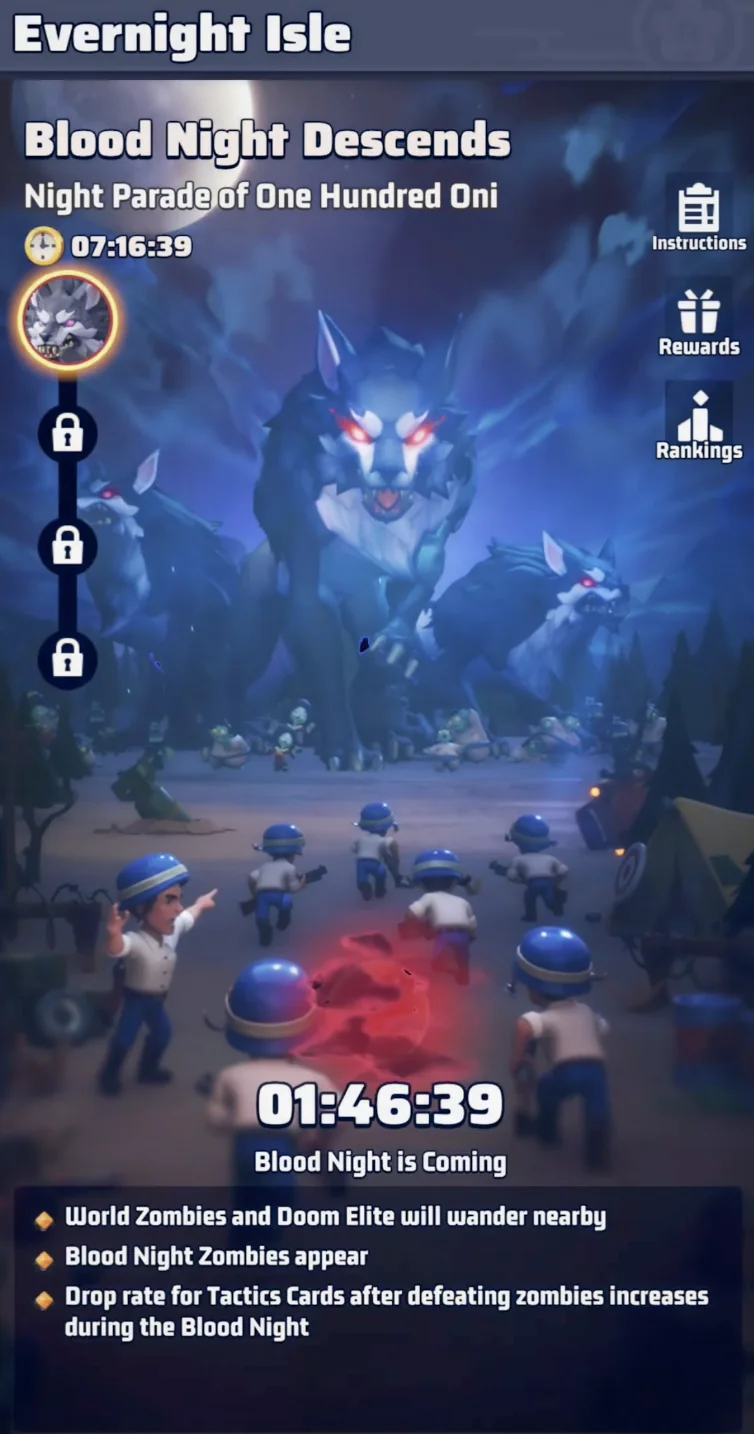
Blood Night Descends turns the map dark red and sends Doom Elites across it. It is one of the strongest early Week 1 farming windows because every Doom Elite resets to Level 1 when the event begins, letting lower-resistance players climb the event ladder instead of being locked out by high initial elite levels.
Farm the reset for Stones, Quartz, Hero's Return Recruitment Tickets, Magatama, and Tactics Cards. Week 1 unlocks only Stage 1, so it is a PvE event for now. Use this predictable window for coordinated farming before later weeks add the expected PvP pressure.
- Start from Level 1 after the reset and climb as far as your resistance allows.
- Prioritize seasonal Stones, Quartz, Magatama, and card drops.
- Use Week 1 as a PvE farming window rather than saving activity for later stages.
Part 10: Build a Balanced Tactics Card Deck
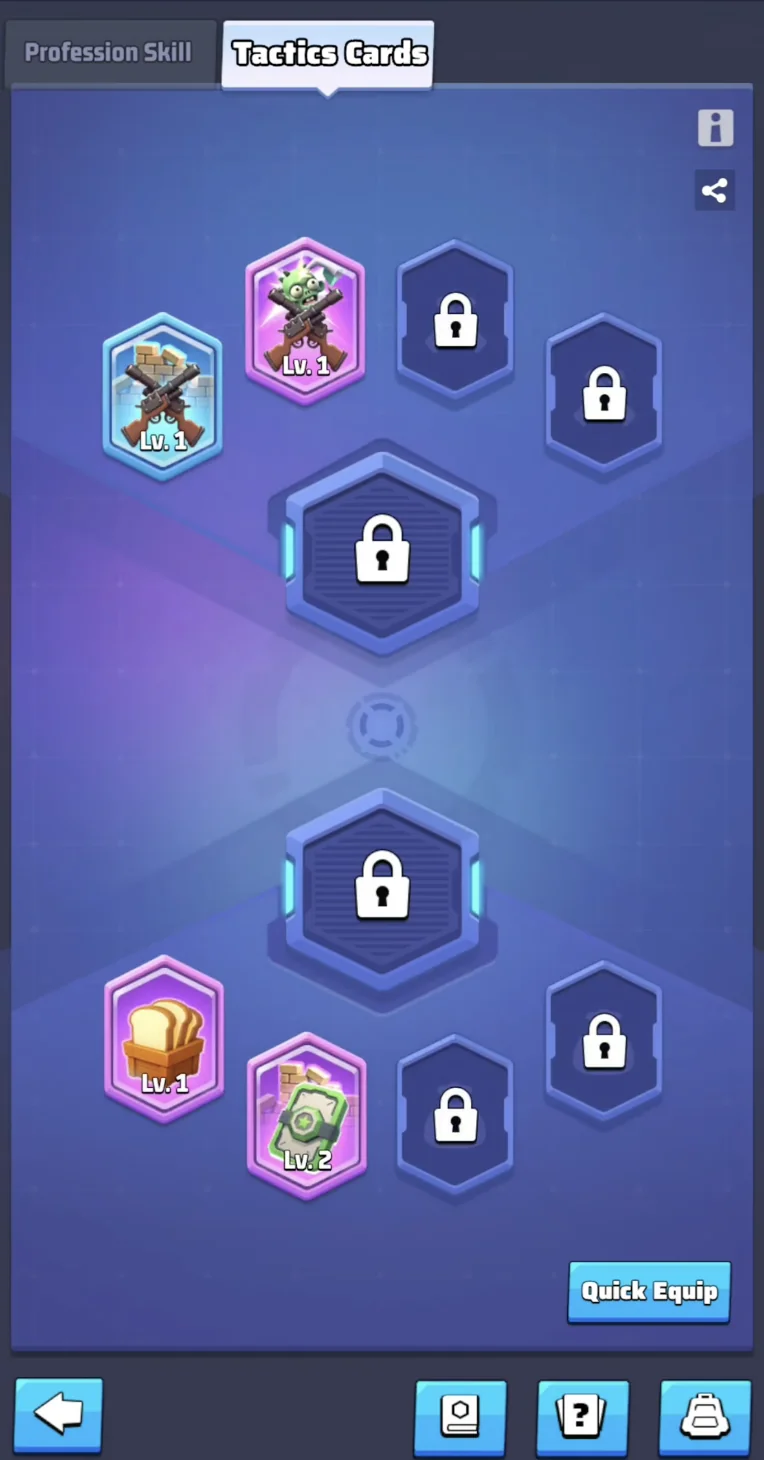
The Season 4 Profession Tree is capped at Level 100 and introduces map-control skills such as Summon Mummies and Oni Summon. At Profession Level 80, Tactics Card slots unlock and become a new source of targeted account bonuses.
Battle Cards use the top slots for PvP and PvE bonuses such as city march speed or Tank HP. Resource Cards use the lower slots for gathering, Iron output, and construction speed. Duplicate cards cannot stack, so build a mixed deck instead of collecting multiple copies of the same bonus.
- Plan toward Profession Level 80 to unlock card slots.
- Use top slots for combat-focused Battle Cards and lower slots for Resource Cards.
- Mix distinct cards because duplicate cards cannot be stacked.
Part 11: Account for the Lucius Exclusive Weapon Battle Pass
Season 4 Week 1 changes the normal weapon-pass expectation. Instead of the usual Aircraft Hero weapon pass, the featured pass is for Lucius's Exclusive Weapon.
If you budget around squad upgrades, verify that Lucius fits your current or planned lineup before committing. The changed pass is useful for players building around him, but it should not force an otherwise inefficient squad investment.
- Confirm Lucius fits your squad plan before spending on the pass.
- Do not assume the Week 1 weapon pass supports an Aircraft Hero path.
- Keep nonessential pass spending behind Lighthouse, Lab, and Quartz priorities.